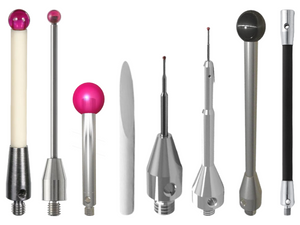
001V2T020 - Tschorn 3D Tester DREHplus - 20mm Shank, 135mm Reach, 3.2/3.6mm Probe
- Shank Size: 20 mm
- Reach: 135 mm
- Probe: 3.2 / 3.6 mm
Tschorn 3D Tester DREHplus
Measure your tools in all axes
especially in Y
No other measuring equipment gives you the possibility to measure your tool to
the rotating centre simply, precisely and directly in your lathe. This is made possible by our unique probing technology which we have developed specifically for the use in your lathe. On a ball, it is impossible to precisely measure sharp turning tools. This is why
the Tschorn 3D Tester DREHplus has a patented conical probing corpus. With this, you directly probe the centre of the spindle, both in X axis and in Y axis. No need for further calculations, since X = 0 and Y = 0.
Innovative probing technology
The conical probing corpus allows you to measure any possible cutting insert with various radii and / or angles at any point of the probing corpus. You probe until both indicators show „0“. In this position, the outline of the conical probing corpus is exactly on the symmetry axis.
Y axis
No other measuring equipment gives you the possibility to measure the rotating centre so simply, precisely and directly in your lathe.
Y=0 corresponds to the rotating centre. As a result, you ensure the best possible processing, achieve long lifetime and preserve best surfaces.
X axis
Without any further calculation, you measure your tools to the centre of the spindle, respectively X=0.
Z axis
Also in Z, you can measure all tools, taking into account the length offset in your machine.


